Whether you are pouring a patio, a base for a shed, or some other concrete project, the most important steps happen way before the concrete truck arrives.
Read on to learn how to prepare your space for pouring concrete.
Preparing the Soil for Concrete
The soil you build your concrete pad on needs to be compact and well-drained to ensure the best concrete slab results.
Concrete is a porous material so drainage can’t be an issue. Otherwise, water under the concrete pad will result in stress cracks in the cement as the ground flexes.
When you take the steps to prepare the subsurface, you limit the risk of cracks in your finished concrete.

Make a Stable Base for the Concrete
Generally, a 4-6 inch compact base is good for pouring concrete. But if you are pouring a driveway and have an RV you’ll be parking there, you may need to readjust to 10-12 inches.
If you have sandy soil, you’re in luck. All you’ll need to do is scrape off the sod and topsoil and add gravel fill if needed.
Yet, if you live in cold climates or have heavy clay soil, you may also want to make your base layer between 10 and 12 inches.
Your local concrete supplier can help you figure out the right base depth for your geographical area based on your intended use.
Your municipality might also have guidelines on base depths for your area.
Prepare the Site for Pouring Concrete
Next, contact your municipality and see if you need a permit. You can also find out how close to your property lines you can build.
Then, drive four stakes to indicate the corners of your slab. Use a line level and string to find out how much the ground slopes.
If your site is sloped, you will need a lot of soil to make it flat. You might also need to build up a low section.
Build up the Concrete Formwork
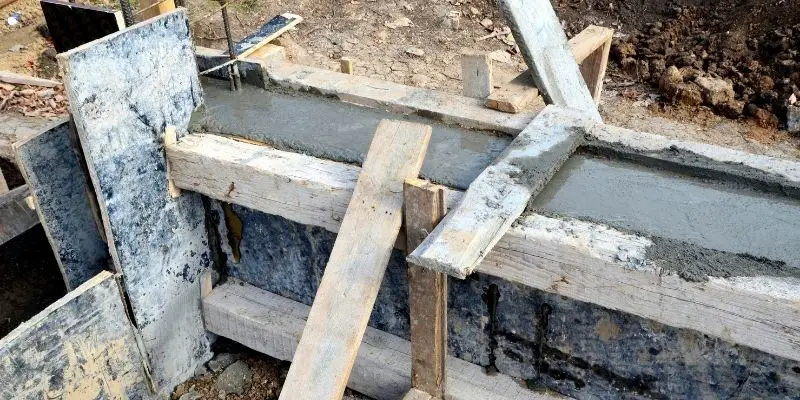
You will need to create a box out of wood so the poured concrete can take shape.

Choose straight form boards that are the right size for your project. If you are pouring concrete for a shed or garage, 2×12 boards work very well. For a driveway or patio, 2×6 boards work best.
You might need to splice some boards together to get the length you need.
Levelling the Ground For Concrete
Use a builder’s level or a laser level to set the height of the forms. Poured concrete can bend your form boards out and ruin the shape you want.
You’ll need to add extra strong supports by using 2×4 stakes and 2×4 kickers every two feet down the lengths of the forms.
You will need to use a lot of care when doing this step. Remember, your poured concrete will take the shape of this box. Building this form straight is crucial.
Learn more about how to build a straight form before you move on to the next steps
Dig & Smooth Out the Ground
Next, dig the ground to the proper depth for your concrete pad. You may want to rent a skid loader or hire an excavator if you need to move a lot of dirt.
Smooth out the ground with the flat side of a rake to level it. Use dirt to fill in low sections.
Compact Each Layer of Concrete Base
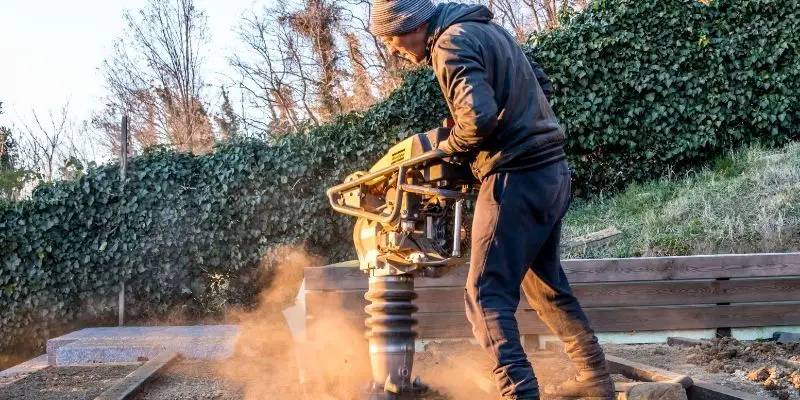
Use a vibrating plate compactor and pass over the base three or four times. Then add another two inches of base and go over the plate compactor again.
Make sure you use a compactor that is for compacting a base. Compactors, such as rammers or jumping jacks, are for backfilling trenches. That’s not what you need when prepping for pouring concrete.
Dampen the Base
Dry base won’t compact well during the next step. If you are working in dry conditions, spray each base layer with a hose.
You can test to see if your base soil has enough water by grabbing a handful. Make it into a ball. The soil will be ready when it keeps shape when you open your hand.
If it crumbles, you’ll need more water, but don’t make pools of water because that will not help your base either.

Tamp the Base
Once you have your base the height you need, it’s time to tamp the ground. You can use a mechanical tamper that you can rent from your local hardware store, or you can use a hand tamper.
A hand tamper is a heavy pole that has a flat metal base and two handles. You’ll use it to pack down the soil.
Test the soil by walking across it. You should barely leave any footprints.
Add Gravel
Once your base is compacted, add two inches of small gravel to help with drainage.
Tamp the gravel down so that it is flat and smooth.
Get Ready to Pour Your Concrete
Congratulations! You made it to the final step of this complex process. It’s time to have a truck come to deliver and pour your concrete. Reschedule delivery if it is hot, windy, or rainy.
You’ll need several strong helpers because you need to work fast.
Start by placing concrete in the concrete forms farthest from the truck. You may need to use heavy-duty wheelbarrows for large projects.
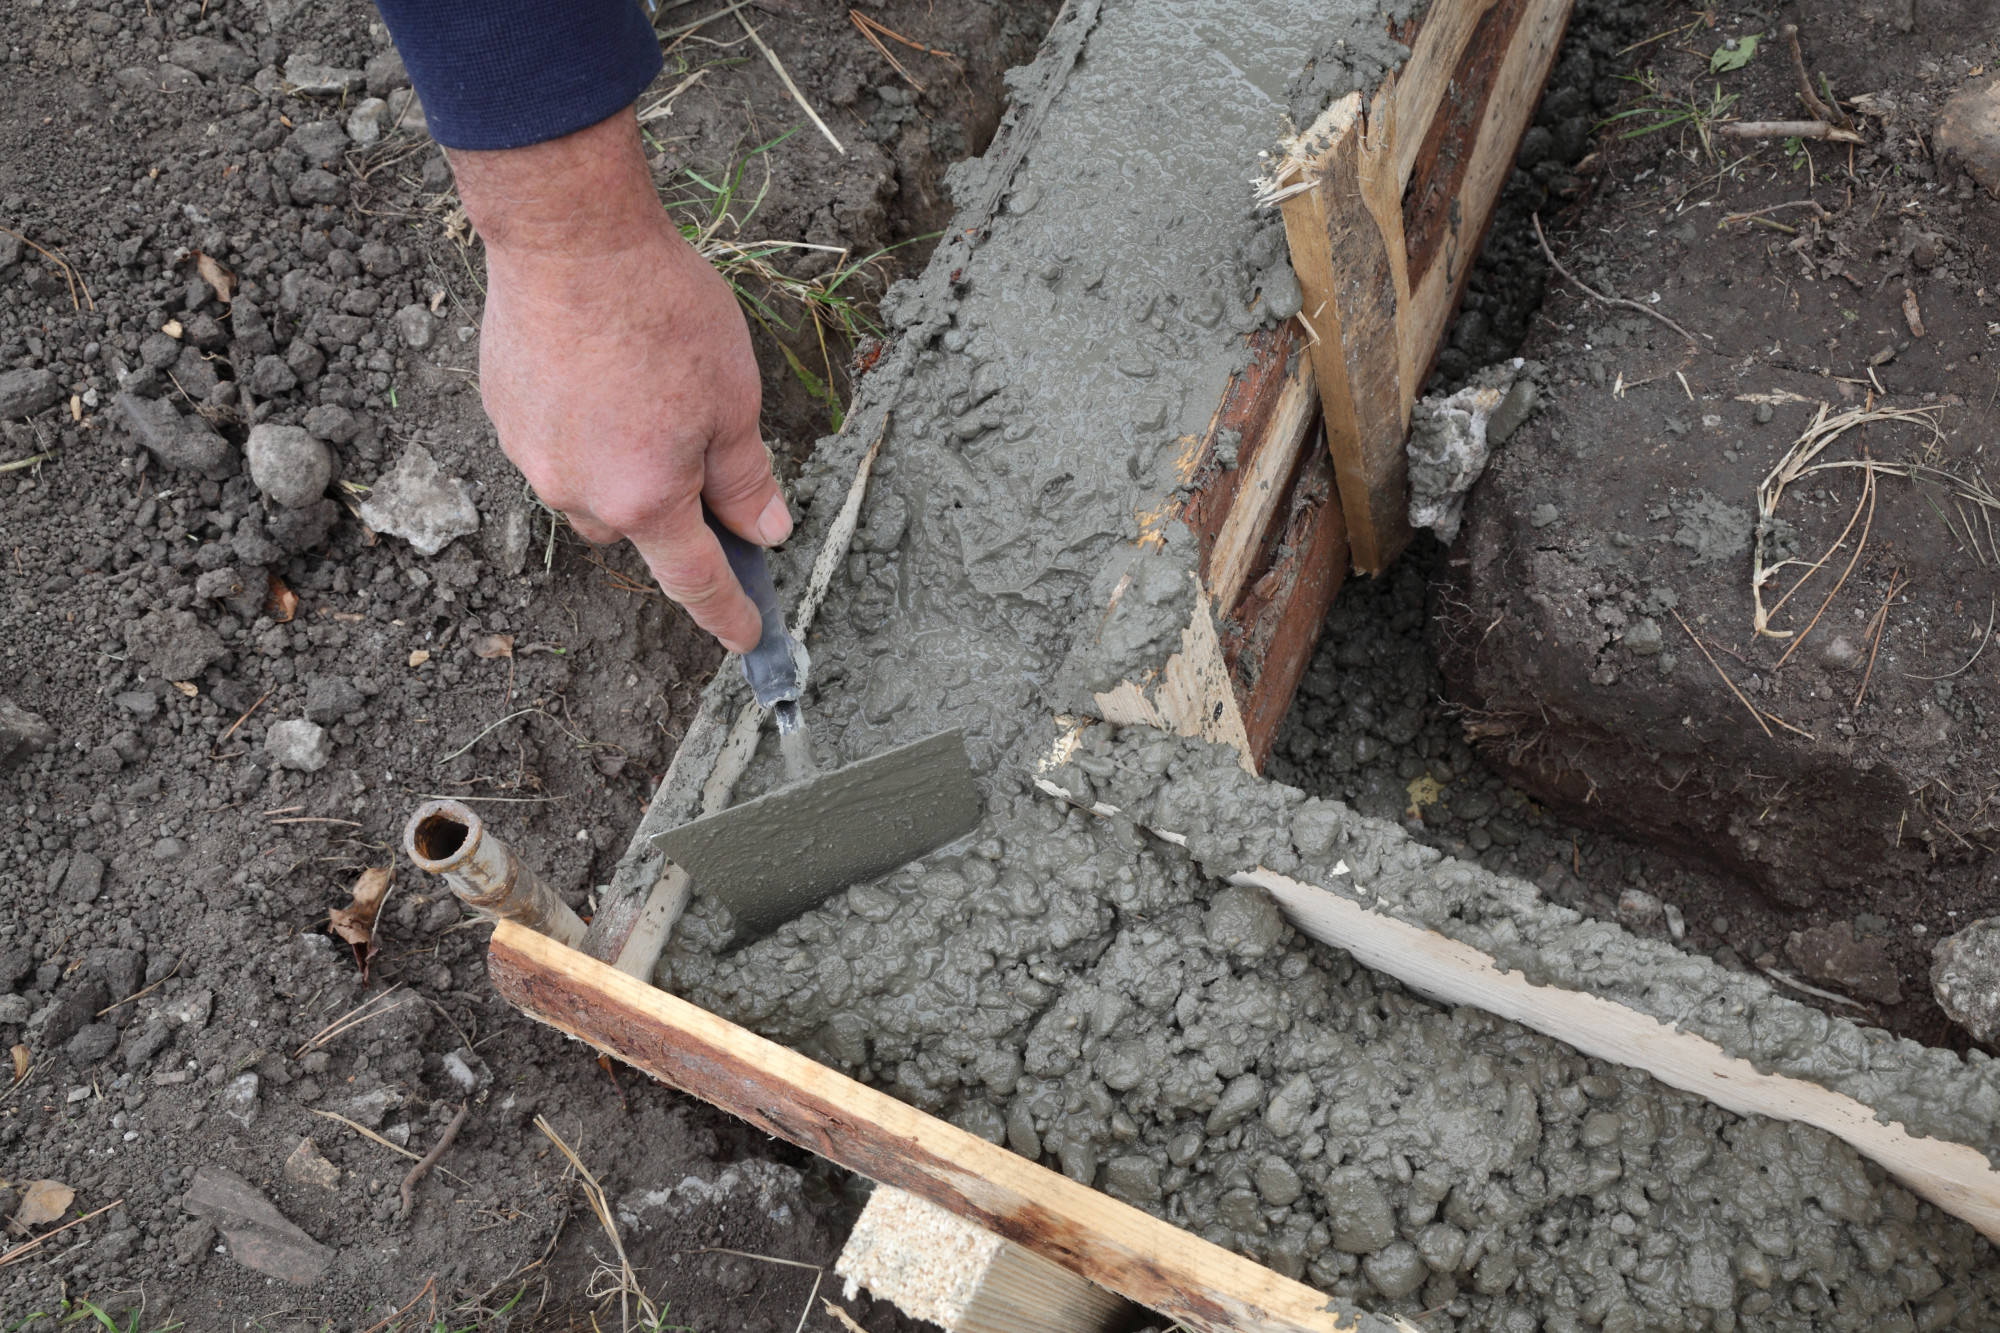
Pour the concrete as close to where you want it to go. Roughly level it with a rake. Continue until your form is complete. Then flatten with a bull float and round the edges with an edging tool.
You’ll then smooth the entire surface with a trowel and wait for your poured concrete to dry.
Now You’re Ready For Your Pouring Concrete Project!
There you have it! These are all the steps you need to prep for your project that requires pouring concrete.
Though this project is labor-intensive, you can save big bucks by doing this work yourself.
